Loretta’s Sampler, Month Two
Posted on October 10, 2020 by prairiemoonquilts in Loretta's SamplersIt’s Block #2 release day for Loretta’s Sampler at Sew Sweet Quilt Shop! If you haven’t signed up yet, it’s not too late. You can get more info HERE and HERE.
I thought I’d pop on today with some information about how to use the appliqué templates included in your pattern, just in case you’re doing the appliqué version of the quilt. I use the hand needle-turn method for my appliqué, so that’s what I’m discussing here. (If you want to use the fusible method, I’m supplying some links at the bottom with information on that method.)
In your pattern packet, there are full-sized pattern pullouts for the appliqué. This is what you use as a placement guide for your pieces onto your background, and to make your templates from. For the center block, 1/4 of the design is presented, and you just rotate the design 3 more times to get the full design.

To make my templates, I use a piece of freezer paper for templates that I don’t have to trace more than a few times. For templates I will be tracing lots, I use template plastic.
I don’t make templates for the vines. I use a bias tape maker to make them. For this pattern, I used a 1/2″ bias tape maker for the vines in the center block, and a 1/4″ bias tape maker for the vines in the corners and borders. I wrote a tutorial HERE on how to use a bias tape maker. Sew Sweet Quilt Shop has bias tape makers in the sizes you’ll need, if you wish to purchase them.
The vines should be the first thing you appliqué down, since they get overlapped by lots of subsequent pieces.

You can use the full-sized pattern to trace some reference lines onto your background fabric, or use it with a light table to position your pieces.
Once you have your vines in place, you can begin adding the other pieces. Since they’re all layered (except for the leaves), you’ll need to do the base layer first, then add the other pieces on top, in order.
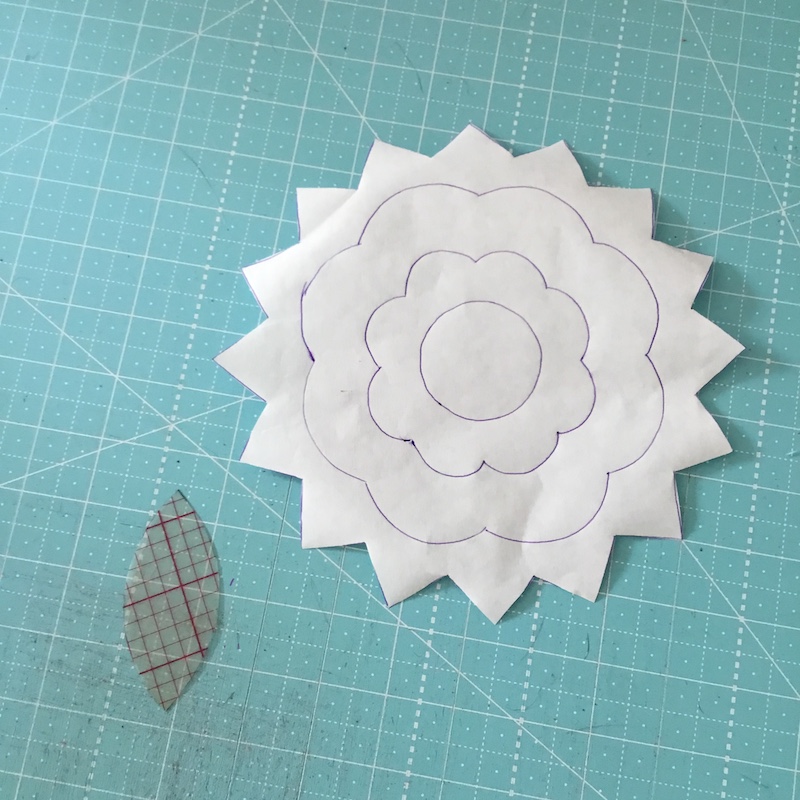
We’ll use the big corner flower as our example. Trace the entire flower from the original pattern onto your piece of freezer paper. (You can also use regular paper, if you don’t have freezer paper.)

Since I’ll be using my leaf template a lot, I made it out of a scrap of template plastic.

Cut them both out ON the drawn line. I’ll explain how to add the seam allowance later.
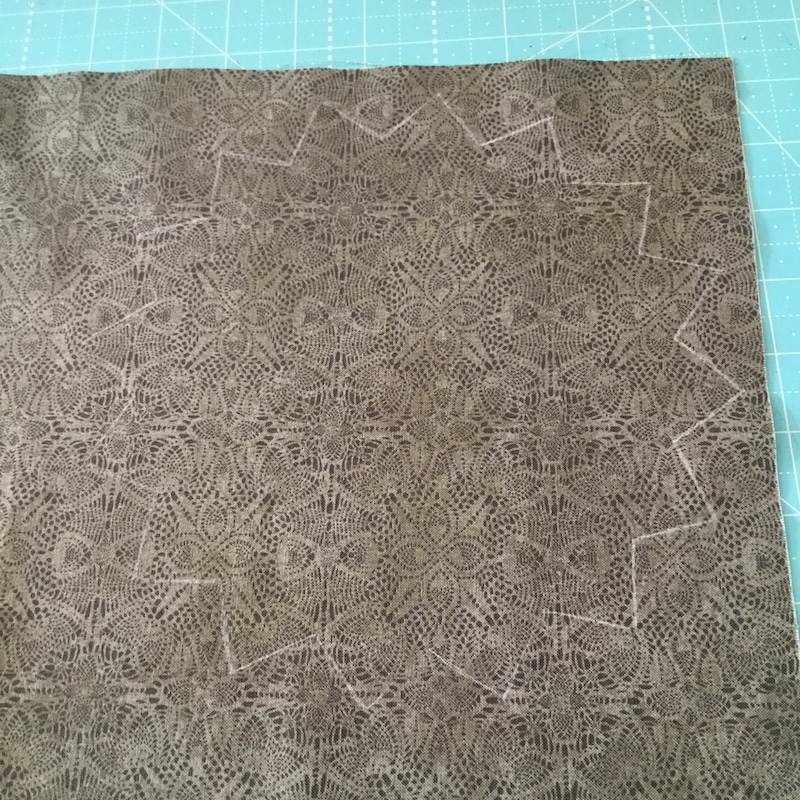
Choose fabric for the bottom layer of your flower. If you’ve used freezer paper for your template, you can press the template into place onto the right side of the fabric with your iron. This will secure the template in place on the fabric while you trace around it. If you didn’t use freezer paper, just be careful to not let the template shift around on your fabric while tracing it.

Trace the design on to the fabric along the edges of the template, using a marking pencil that shows up, but doesn’t leave permanent marks, then peel the template paper off. It will restick a few more times as you trace all the flowers you need.
When you’re done with all the needed pieces for the bottom layer, cut the next layer out of the same template, and keep on using it!

Now you’re ready to cut the piece out. Cut the flower out 1/4″ OUTSIDE the drawn line. This is your seam allowance, and you can just eyeball it, leaving yourself enough to turn under. You’ll be sewing on the drawn line.

For those inner V shapes, you’ll also want to snip into the V so that the edges turn under neatly:

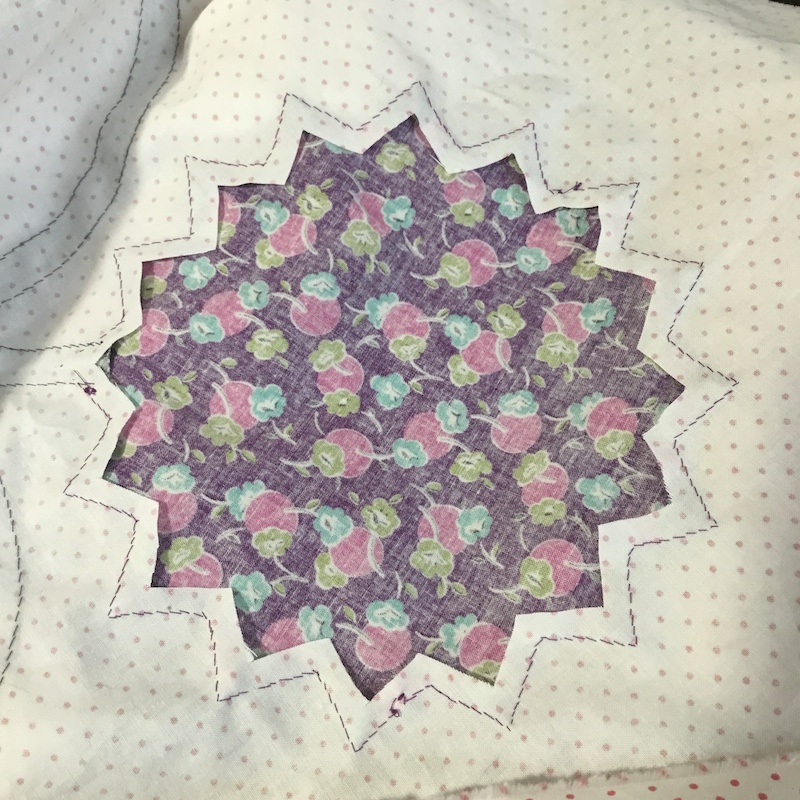
Now you’re ready to pin your flower in place onto your background and stitch it down.
For help with the actual stitching, see THIS tutorial.

Once I had my flower’s first layer in place, I trimmed the background fabric out from behind it. This step is completely optional, but when there are several layers, trimming out the background keeps the bulk of all the layers from building up. Be sure you are only trimming the background, tho, and don’t cut into your flower piece!
Now you’re ready to add the next layer.
Here are a few photos of how I did the smaller flowers . . .
Step 1:
Step 2:

Step 3:

Step 4:

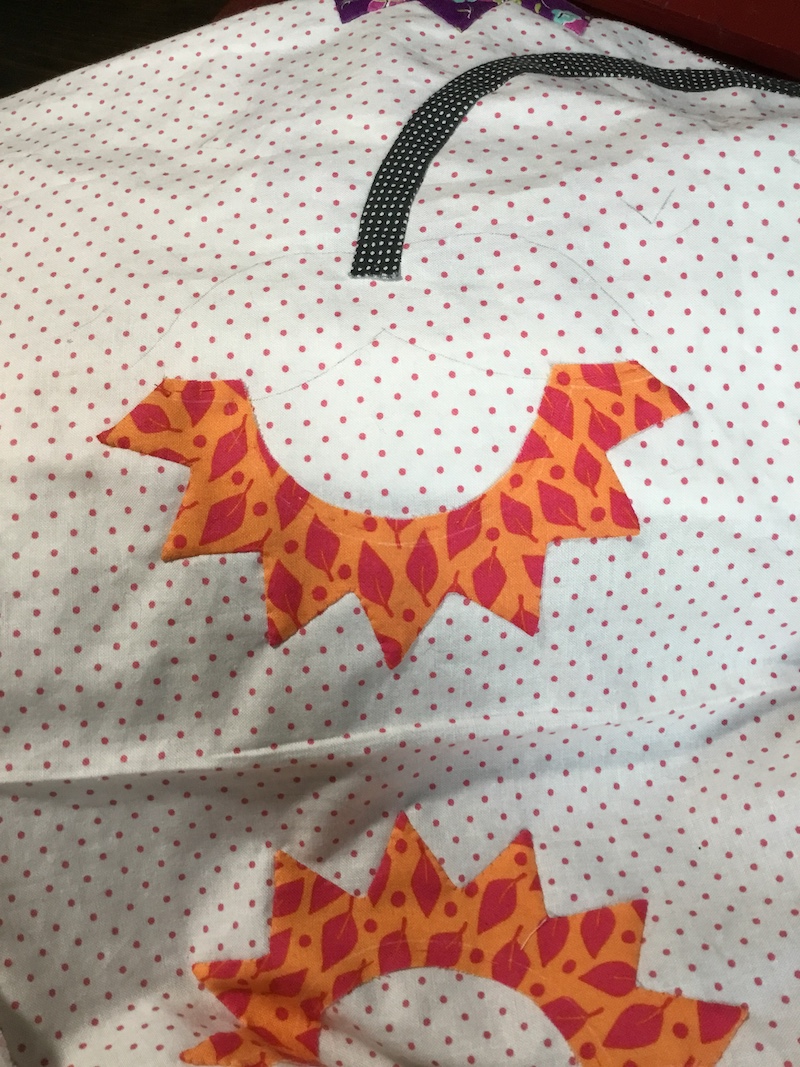
Here’s how I did the center design. I first appliquéd down all the little half-circles, then added the inner melon shapes on top of those to catch the raw edges.
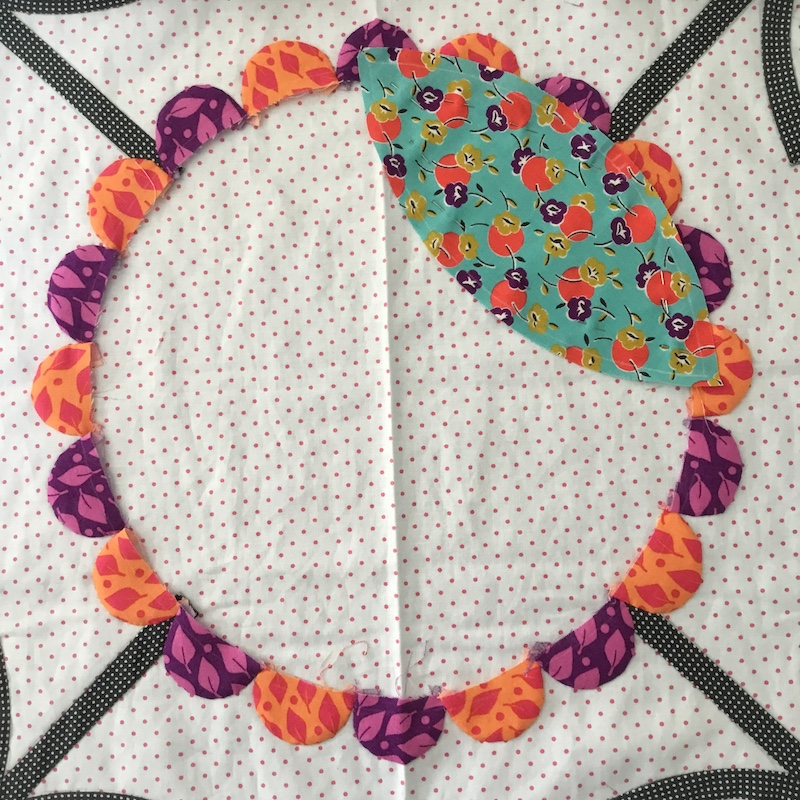
Here’s my completed block. I think this would make a great wall quilt all by itself!

Here’s the corner block:
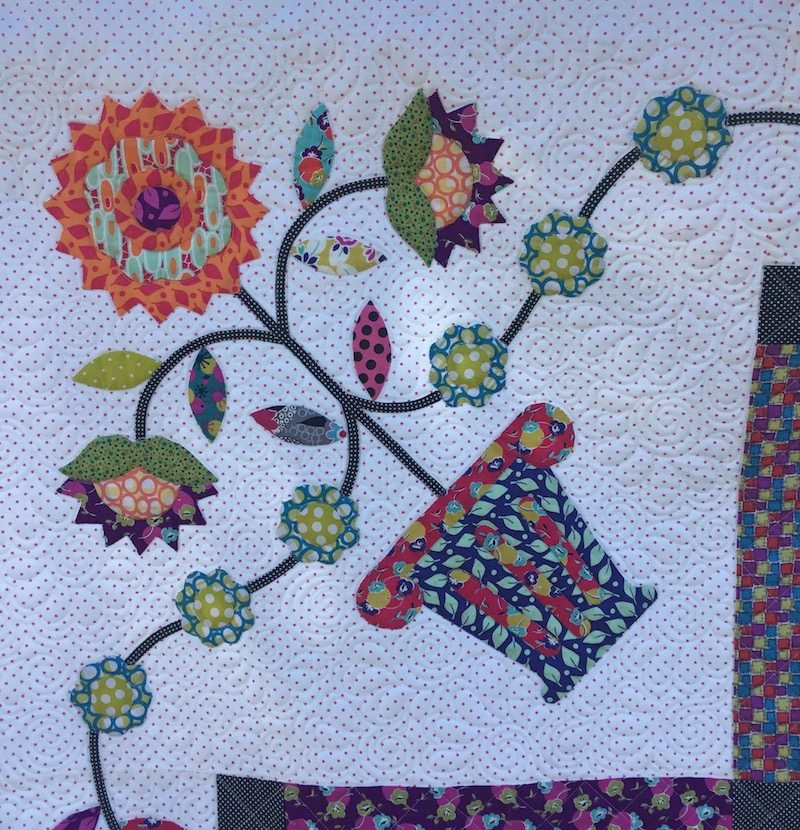
Here’s a close-up of the corner flowerpot:

Here is an entire series of detailed tutorials for how I do my appliqué, which also includes information on the fusible method:
- Prepping background, making templates: click HERE
Cutting out the pieces: click HERE
Making the stitches: click HERE
Appliqueing layered pieces: click HERE
Here’s a tutorial on how I do my leaves: How to Appliqué a Leaf
Here’s how I do circles to get them perfectly round: Perfectly Round Circles
I hope this helps you if you are doing the appliqué version of Loretta’s Sampler. And do let me know if you have any other questions for things I didn’t cover! Happy Stitching!
Shelly, that is beautiful I can’t imagine the hours that went into those tiny stitches that even look so pretty from the back!
Happy stitching!